Showing posts with label white clay. Show all posts

15 January, 2014

Day 79


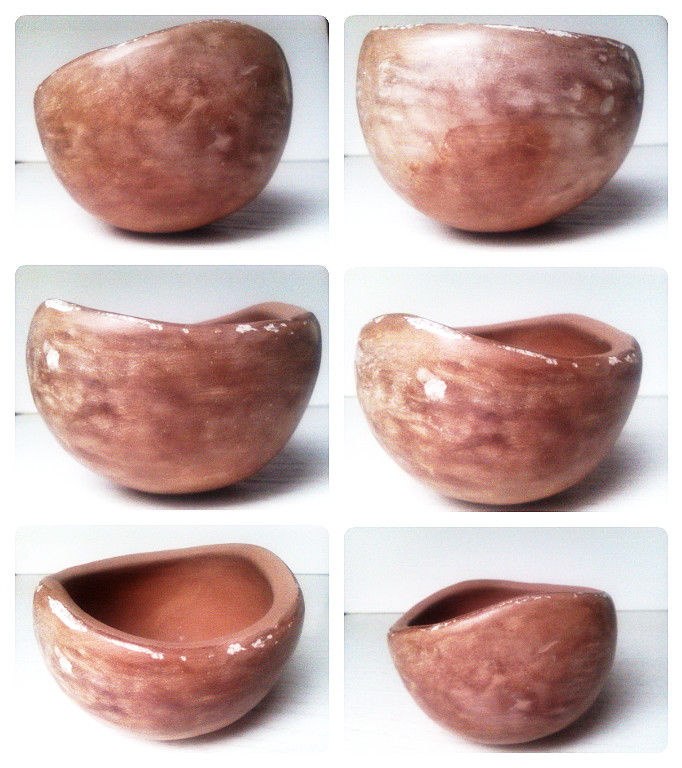
                                                                        Luminary 
*click for larger image

White clay
Brown engobe
Fired

26 September, 2013

01 March, 2013

Day 60


Spacey cupola shaped luminary

*Click for larger image

White clay, 25 % chamotte
Salmon color clay, 25 % chamotte
Unfired


24 February, 2013

Day 55


Luminary


*Click for larger image

White clay
Unfired

Update: fired (brown engobe)


21 February, 2013

Day 52

Luminary

This pinched luminary is an attempt of developing
the idea that I was working on last year .
 I imagined some oval shaped luminary that consists of two parts and looks like
a little sculpture. The idea came spontaneously while I was working
on something completely different and not really interesting so  
in that moment that was really creative inspiration for me.

*Click for larger image

Unfired
The idea itself was good but in the end it failed in a practical sense. 
There wasn't enough oxygen for candle to burn. 
The crucial thing I didn't think of.
And I made three of these "idea luminary" before I realized that. :)
They look nice but that's all.
This one is different ,
 I pierced  it a lot and made it bigger and rounded. 


UPDATE: fired (black oxide)


11 February, 2013

Day 42


Plant pot

*Click for larger image

*Click for larger image

Mixed clay from the leftovers
Unfired


08 February, 2013

Day 39


Plant pot with black pepper


*Click for larger image


Burnished surface

Unfired

UPDATE: Fired


*Click for larger image


03 February, 2013

Day 34


Meanwhile pot

This one cracked on the back side.
 It doesn't bother me but I hope it won't completely crack in firing.
I am slowly preparing myself for spring planting so I am obsessively
working on pots for cacti, succulents and herbs.
That is the plan for planting. For now.
But I can already see myself  going from the local market with 
a bunch of bags full of unplanned plants.


*Click for larger image


 I am looking forward to more relaxed, fresh and sunny spring days!
This year forecast says it is going to be a very sunny spring
so the only thing left to do is to wait. :)


UPDATE: Fired
*Click for larger image


02 February, 2013

Day 33


Plant pot

White clay with a little bit of pink.
I tried burnishing again. 
I started at the bottom with the back of a metal spoon.
Lower on the pot you can see how a metal spoon left a black marks on a clay.
So, I continued with the back of a ceramic spoon and it didn't leave any marks.

*Click for larger image

I guess these marks are from the graphite in metal
 so it will burn away after the firing.
I burnished this just once.

UPDATE: Fired 


01 February, 2013

Day 32


Pinched vase

This vase is from a mixed clay, pink and white.
It is really nice and sweet, 
but it doesn't look so good on photos.

*Click for larger image

I will take more photos after the firing so
I am hoping it will be better.
Pink and white clay
Unfired

UPDATE: Fired

*Click for larger image


31 January, 2013

Day 31


Burnishing


This is the first time I actually tried to do some burnishing.
It was fun at the beginning but it takes a lot of time, practice and patience.
Burnishing is basically rubbing the surface of the clay piece until it becomes glossy.
The burnishing tools you use need to be smooth, hard and easy to hold.

*Click for larger image

Most potters use the back of the spoon or polished stones for this technique.
Burnishing simply aligns the tiny clay particles so they will reflect the light.
This technique is highly influenced by the state of drying.
The best stage to burnish is usually at the later stage of letaherhard.
Many potters burnish the piece few times to achieve the ultimate finish.

More about burnishing .
Simon Leach video about burnishing.

UPDATE: Fired
*Click for larger image


30 January, 2013

Day 30


Luminary

*Click for larger image

Mixed two types of clay, pink and a little bit of white.


UPDATE: Fired 

*Click for larger image


21 January, 2013

Day 21


Pinched vase


I wanted to make a small vase with few holes for flowers. 
Base of the vase is white and the decorations are also from the white clay but
I mixed it with a different colors of the slip.
I punched a few holes beside the decoration 
and I really don't know why I've done that 
because the decoration itself has enough holes for the flowers.


*Click for larger image

But it doesn't matter, 
at the end all the holes will be filled with some kind
of the flowers, leaves, twigs or such so it will look nice.

UPDATE:Fired
*Click for larger image


19 January, 2013

Day 19


Cream jug

This is a small pinched jug.
I mixed some pink with white clay.
 Wonder what shade of the color will turn out after the firing.
I am hoping for some fine pastel tone.

*Click for larger image

I was focusing on the shape so I wanted to keep it simple 
 with the texture
 and I think that I mainly succeeded.  

UPDATE:fired
*Click for larger image


16 January, 2013

Day 16


Vase

*Click for larger image

I updated this with the second
 picture where you can see dried vase.


UPDATE: Fired vase


 * Click for larger image

14 January, 2013

Day 14


Hanging pink cactus pot


 * Click for larger image

UPDATE: Fired pot
*Click for larger image


13 January, 2013

Day 13

Hanging luminary

This will be a pinch pot luminary.
I've gone too far with decorating surface on this one. Again.
I punched two big holes from the side so it can hang also.
I'm not much satisfied with this one.
Too much of everything.

*Click for larger image

UPDATE: Fired luminary
*Click for larger image


11 January, 2013

Day 11


Hanging bell 

This is my first ceramic bell!
 I think it turned out just fine for the first time.
*Click for larger image

UPDATE: Fired bell
*Click for larger image


10 January, 2013

Day 10


Cactus pot

*Click for larger image

I used white clay and green engobe on this one.

UPDATED: Fired pot
*Click for larger image


09 January, 2013

Day 9


Crack pot

This time I mixed two different types of clay, majolica and brown.
This particular brown clay has 25 % of chamotte and the grain size is 0-0,2 mm.
Again, I overlaid the inside of the pot.
 This time with white clay.
*Click for larger image

I persisted in creating cracks while at the same time
 I had difficulty with forming the shape and I am not satisfied with this one.
It cracked a litte bit too much.
At one moment it almost fell apart complerely but I saved it!
This happens when you have problems with control
 and when you are not able to stop at the right moment.

UPDATE: Fired pot
*Click for larger image

The edge of the pot was to thick so it cracked at some points during 
drying. I then tore it completely so it can be equal.