Showing posts with label majolica. Show all posts

21 September, 2013

Day 75


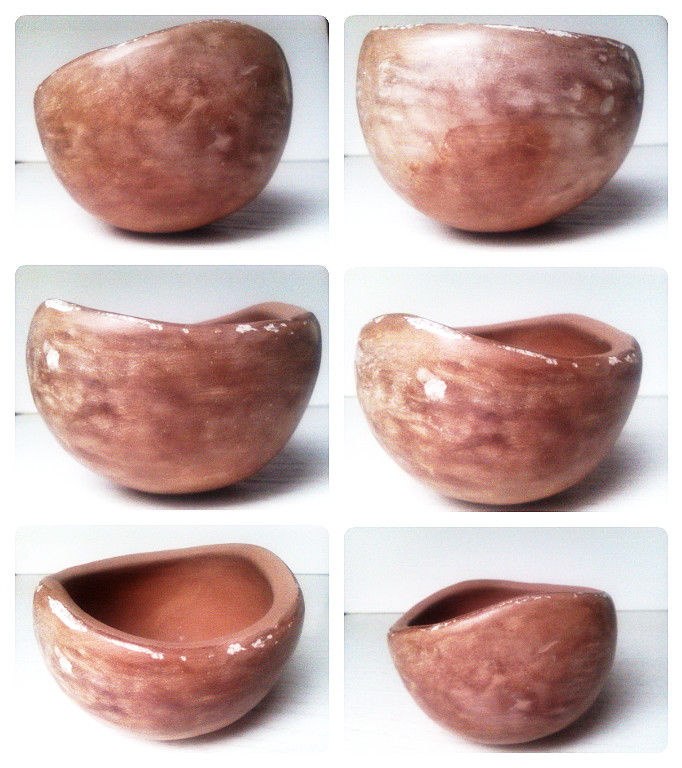
Textured bowl

*Click for larger image

Majolica
Unfired

UPDATE: fired (black oxide)


20 February, 2013

19 February, 2013

Day 50


Majolica birdhouse

*Click for larger image

So this is another ceramic birhouse which I made. 
It is bigger from the last one and 
this time I was thinking about holes for the ventilation and drainage :)
I punched two holes on the both sides
and three holes on the bottom. 
Hole in the middle of the bottom is for the wooden perch.
It has also a hole on the top for hanging.
Unfired


31 January, 2013

Day 31


Burnishing


This is the first time I actually tried to do some burnishing.
It was fun at the beginning but it takes a lot of time, practice and patience.
Burnishing is basically rubbing the surface of the clay piece until it becomes glossy.
The burnishing tools you use need to be smooth, hard and easy to hold.

*Click for larger image

Most potters use the back of the spoon or polished stones for this technique.
Burnishing simply aligns the tiny clay particles so they will reflect the light.
This technique is highly influenced by the state of drying.
The best stage to burnish is usually at the later stage of letaherhard.
Many potters burnish the piece few times to achieve the ultimate finish.

More about burnishing .
Simon Leach video about burnishing.

UPDATE: Fired
*Click for larger image


28 January, 2013

Day 28


Vase or lidded jar ?

This vase/lidded jar is from majolica clay.
 Lid is from the brown clay.
I punched several holes in the middle of the lid so
it can serve also as a vase.I placed some dried flowers in the middle
so you can see how it looks like.

*Click for larger image

Unfired.

UPDATE: Fired
*Click for larger image


24 January, 2013

Day 24


Pierced candle holder


*Click for larger image

Majolica clay
Unfired

UPDATE: Fired


* Click for larger image


23 January, 2013

Day 23


Lidded jar, vase or something else?

 Basic shape of the pot is from majolica clay and the
 lid for the pot is from the brown clay.
I think it will be nice after the firing when the contrast 
between the colors will come to expression.

*Click for larger image

I like very much the idea of a multifunctional objects. 
Especially when the design of  the objects is done well and smart, 
in other words it has to be somehow useful. 
I intended this to be a pot with the lid like yesterday, but here is the catch.
I punched the holes in the lid so it can be a vase as well.
On the last photo you can see dried pot and
the contrast between majolica and brown clay.

UPDATE: Fired

*Click for larger image


09 January, 2013

Day 9


Crack pot

This time I mixed two different types of clay, majolica and brown.
This particular brown clay has 25 % of chamotte and the grain size is 0-0,2 mm.
Again, I overlaid the inside of the pot.
 This time with white clay.
*Click for larger image

I persisted in creating cracks while at the same time
 I had difficulty with forming the shape and I am not satisfied with this one.
It cracked a litte bit too much.
At one moment it almost fell apart complerely but I saved it!
This happens when you have problems with control
 and when you are not able to stop at the right moment.

UPDATE: Fired pot
*Click for larger image

The edge of the pot was to thick so it cracked at some points during 
drying. I then tore it completely so it can be equal.


08 January, 2013

Day 8


Crack pot

* Click for larger image

I started with shaping the majolica clay. It took me a while till I got 
all the cracks and structure that I intended to achieve.
 I overlaid the inside of the pot with brown clay. 
Wonder what it will look like after the firing.

UPDATE: fired pot
*Click for larger image


06 January, 2013

Day 6


Crack pot

White clay, majolica clay, 
iron and manganese oxide

For the start I added some majolica clay to the bottom of the pot.
And then I started to make cracks.
What I had in mind was to fill up the cracks with an iron oxide
 and then when it dries completely to sand the surface of the pot with fine sandpaper.
It would reveal nice red cracks on smooth, white surface.

*Click for larger image

But somehow, I like it this way and I think I will leave the surface as it is.
Maybe I will sand just the inside of the pot.

UPDATE: Cracked on the way to kiln :(


01 January, 2013

Day 1


Majolica luminary

This is the first pinch pot I made for a project. 
I am obsessed with candles so this will be a little candle holder. It's still unfired.
I was working with majolica and experimenting a little with texture. 


*Click for larger image

I partially put some yellow engobe on
 textured surface and waited till it was leather hard so I can make holes for the light. 
I will leave it unglazed.
 At some point I will put the photos of finished, fired piece. 
The images are not very good, sorry about that.
 It will get better with time :) 

UPDATE : Fresh from the kiln
*Click for larger image